

Man, the first time I heard about spot UV, I thought it was just a fancy way to make certain spots on a print job shiny. Nothing special, right? Then a printing buddy at a trade show shoved a brochure in my face and said, “Feel this—really feel it.” That’s when it hit me. Spot UV isn’t only about gloss; it can add real texture, build up height like a mini sculpture, and even mix slick shine with soft matte finishes for that irresistible touch-me vibe. Ever since, I’ve been hooked on exploring all the cool things you can do with it.
What Exactly Is Spot UV? (It’s More Than Just Glossy Varnish)
Let’s clear this up quick. Spot UV is a printing technique where you apply a clear UV-curable coating to specific areas of your design, then zap it with ultraviolet light to harden it instantly. Unlike a full flood coating that covers everything, spot UV hits only the spots you choose. It sounds simple, but as one veteran printer told me, “The hardest part isn’t the tech—it’s imagining what’s even possible.”
He showed me a business card where the logo wasn’t just shiny—it was slightly raised, like a thin layer of clear resin. That’s called raised or thick spot UV, and it opens up a whole new world of effects.

Play #1: Strategic Highlights – Make Key Elements Pop
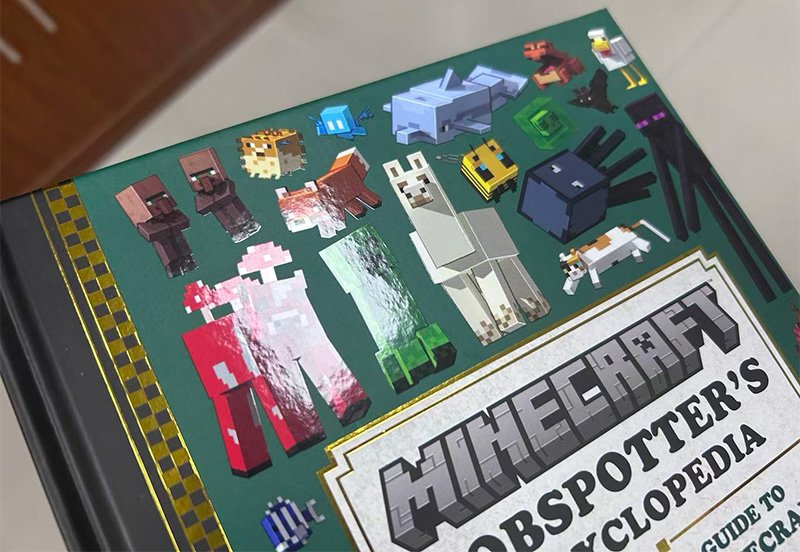
This is the classic, go-to use, and it still delivers every time. Put spot UV on a book title, a product name, or even a character’s eyes on a poster. That targeted shine creates an instant focal point that draws the eye.
One packaging designer I know used it on a tea box. She coated just the leaf graphic so it looked like fresh dew drops catching sunlight on a matte background. The result? The leaf practically glowed and felt “wet” to the eye. The secret? Keep it selective. If you coat too much, the highlight loses its punch—like turning on every light in the room so none stands out.
Play #2: Large-Area 3D Effects – Stack It Up for Real Dimension
Want something that feels like a relief sculpture? Go for thicker applications, often done with screen printing. You can build the coating up to serious heights—think 0.5 mm or more on premium chocolate packaging where the logo rises off the surface. Close your eyes and run your fingers over it: you’ll feel the clean edges and gentle slopes.
Even on bigger areas, spot UV works great when you vary the gloss levels or stack layers. One art book designer created a portrait cover with three different thicknesses on the face—thickest on the cheekbones, thinner on the forehead and chin. The light literally flows across the surface, mimicking real facial contours. It turns a flat print into something alive.
Play #3: Matte + Gloss Combo – Contrast Is King
This might be my favorite because it’s so tactile. Pair glossy spot UV on your main subject with a soft matte UV or uncoated background (or flip it). The difference in sheen and texture makes people want to pick it up and explore with their hands.
A wine packaging example I saw featured a glossy bottle silhouette on a matte black box. As you tilt it under light, the outline appears and disappears. The designer grinned and said, “I want the first reaction to be touch, not just look.” It worked—shoppers couldn’t stop handling the boxes.
Pro tip: Registration has to be tight. Even a tiny misalignment can make edges look sloppy. Talk to your printer early so you don’t end up with fuzzy results.
Play #4: Spot UV on Transparent Materials – Next-Level Wow Factor
Try spot UV on clear PET plastic or acrylic, and the effect changes completely. Light passes through, bounces around, and creates a glass-etched or floating illusion.
I once saw a transparent business card with only the phone number in spot UV. It looked like the digits were hovering in mid-air—super futuristic. The trick on clear substrates? Add some opacity behind it or build extra thickness so the coating catches light through refraction. Otherwise, transparent-on-transparent can disappear.
Practical Tips from Real Projects
Spot UV looks easy on paper, but details matter.
- File setup: Create a separate layer or plate for the spot UV areas. Fill those spots with 100% black (or a spot color like magenta) and leave everything else clean. Don’t use random colors—printers hate guessing.
- Line thickness: Keep fine details reasonable. Aim for at least 0.2–0.5 mm (or about 0.5–1 pt) depending on the method. Super-thin lines can fill in or vanish.
- Paper choice: Smooth coated stocks like coated paper, matte coated, or pearl stocks work best. Rough art papers can absorb the coating and kill the shine. Think of spot UV as a clear raincoat—if the surface is bumpy, the coat wrinkles.
Why Spot UV Still Excites Me
Spot UV sits right between flat printing and real 3D work. It brings precision and a handmade warmth that makes people react emotionally. Good spot UV doesn’t just look premium—it feels special when you pick it up.
As that same old printer friend likes to say, it’s like seasoning a dish: too much and it’s overpowering, too little and it’s bland. When you nail the balance, you’ll know—because you (and your customers) won’t want to put it down.
I’ve covered the main plays here, but the best discoveries often happen during testing and happy accidents. If you’ve tried something fresh with spot UV on your packaging, brochures, or cards, drop me a note. I’m always up for swapping ideas and geeking out over the next cool effect.